Deploy a microservices application in AWS


Introduction:
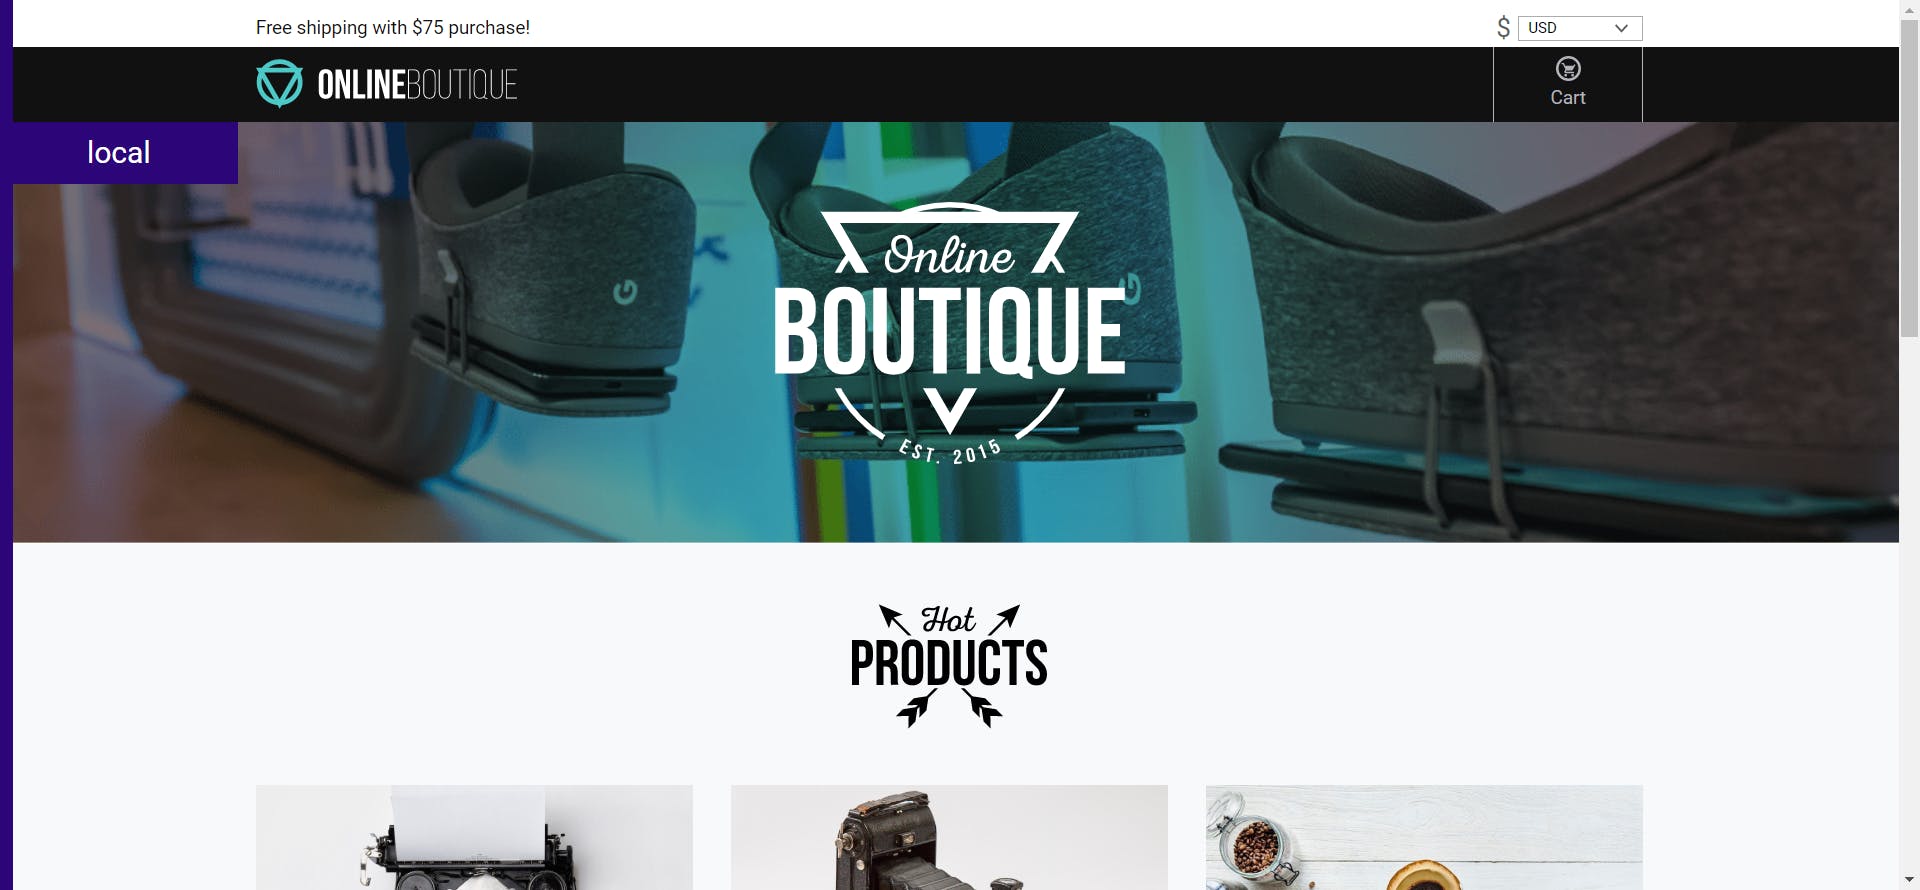
In this article, we discuss how to deploy an application based on microservices architecture using helm and command line tool eksctl in AWS cloud.
It is an application developed by google cloud for practice purposes and the images are made available for practice.
Helm: Helm is a package manager for Kubernetes.
Eksctl: eksctl is a simple CLI tool for creating and managing clusters on EKS - Amazon's managed Kubernetes service for EC2.
Lens IDE: Lens IDE for Kubernetes, The system you'll ever need to take control of your Kubernetes clusters. It's open source and free Increased visibility, real-time statistics, log streams, and hands-on troubleshooting capabilities.
Checkout the repo for code: github.com/krishnarayapudi25/microservices-..
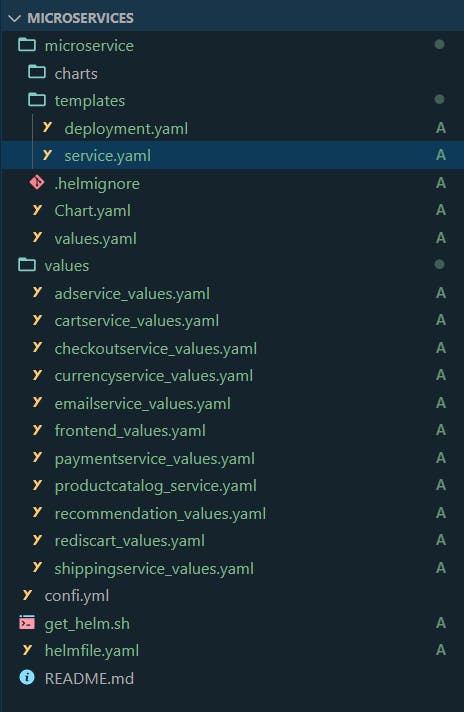
This can be your folder structure
Step1:Helming
we create a helm cart using the command Helm create microservices it will create a folder that contains sample files and other stuff,
Now go to the template folder and delete all other than deployment and service manifest files.
Deployment.yaml
apiVersion: apps/v1
kind: Deployment
metadata:
  name: {{ .Values.appName}}
spec:
  replicas: {{ .Values.appReplicas}}
  selector:
    matchLabels:
      app: {{ .Values.appName}}
  template:
    metadata:
      labels:
        app: {{ .Values.appName}}
    spec:
      containers:
      - name: {{ .Values.appName}}
        image: "{{ .Values.appImage}}{{ .Values.appVersion }}"
        ports:
        - containerPort: {{ .Values.containerPort }}
        env:
        {{- range .Values.containerEnvVars  }}
        - name: {{ .name }}
          value: {{ .value | quote }}
        {{- end }}
Service.yaml
apiVersion: v1
kind: Service
metadata:
  name: {{ .Values.appName}}
spec:
  type: {{ .Values.serviceType}}
  selector:
    app: {{ .Values.appName}}
  ports:
    - protocol: TCP
      port: {{ .Values.servicePort}}
      targetPort: {{ .Values.containerPort }}
these are the template file for reference by passing value files to the template we can create manifest files.
Now in the values folder create values for all microservices . here we see an example for adservice
appName: adservice
appImage: gcr.io/google-samples/microservices-demo/adservice
appVersion: :v0.3.9
appReplicas: 2
containerPort: 9555
containerEnvVars:
- name: PORT
  value: "9555"

servicePort: 9555
serviceType: ClusterIP
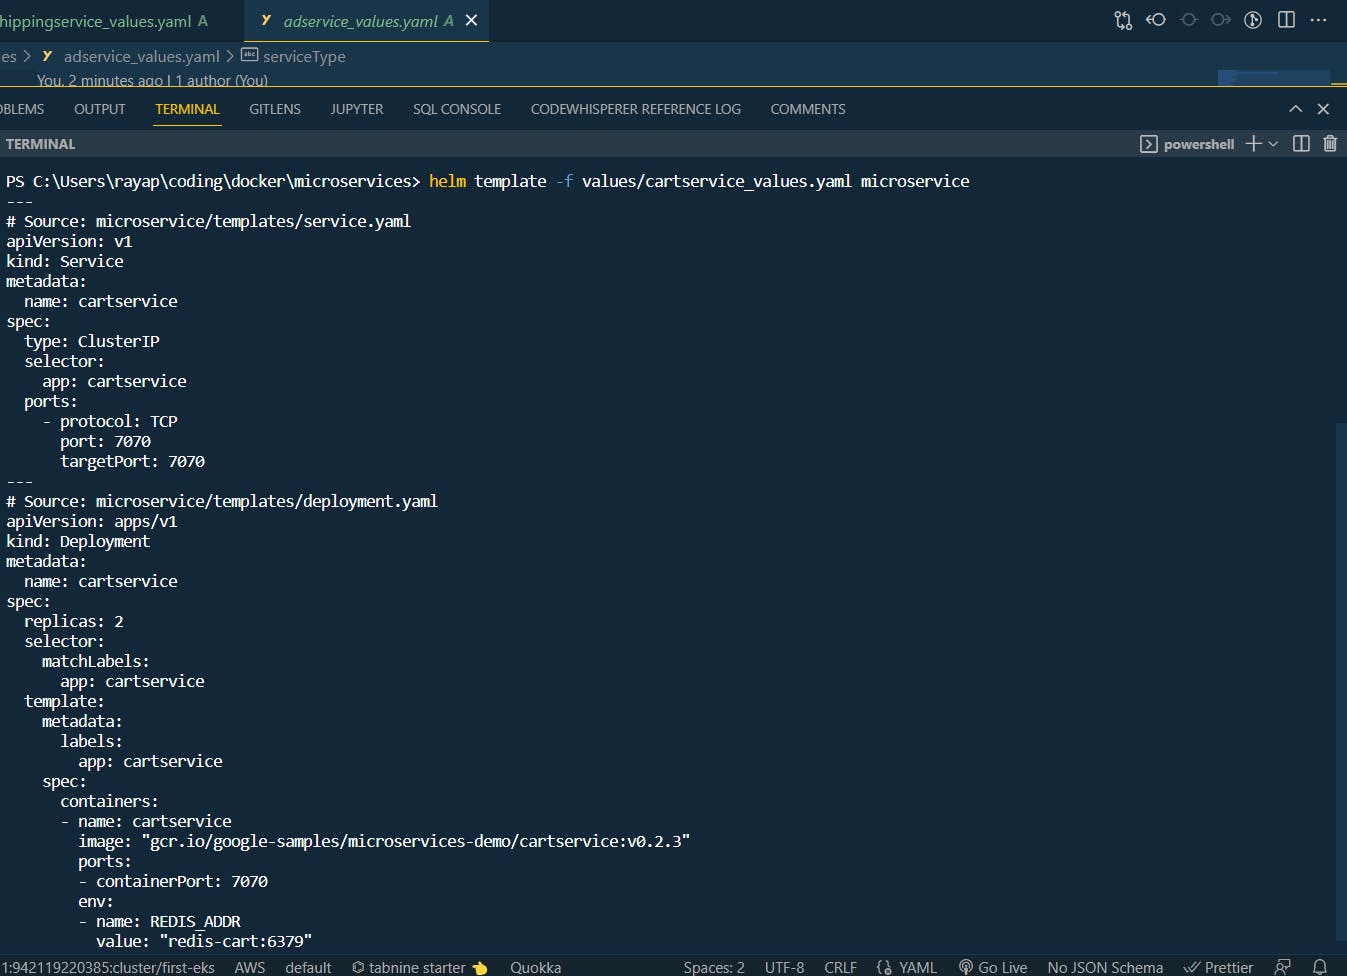
Similarly, you can fill all other microservices and u can check them if there is any error
by using the command helm template -f values/cartservice_values.yaml microservice
There are other ways to deploy into Kubernetes but we use Helmfile to deploy to Kubernetes u can download it from https://github.com/roboll/helmfile and find out the new release and download it.
Step 2:Create Kubernetes cluster using eksctl.
To perform this u need AWS CLI needs to be on your computer configuration
eksctl create cluster --name demo-eks --region ap-south-1 --nodegroup-name standard-nodes --node-type t3.xlarge --managed use this command to create a cluster or u can do it by using yaml files.
check-out for more info
https://eksctl.io/
it will take a while to create a cluster after creating a cluster now we need to get kube config file to make changes in a cluster or have access to the cluster.
By using the command aws eks update-kubeconfig --region ap-south-1 --name demo-eks
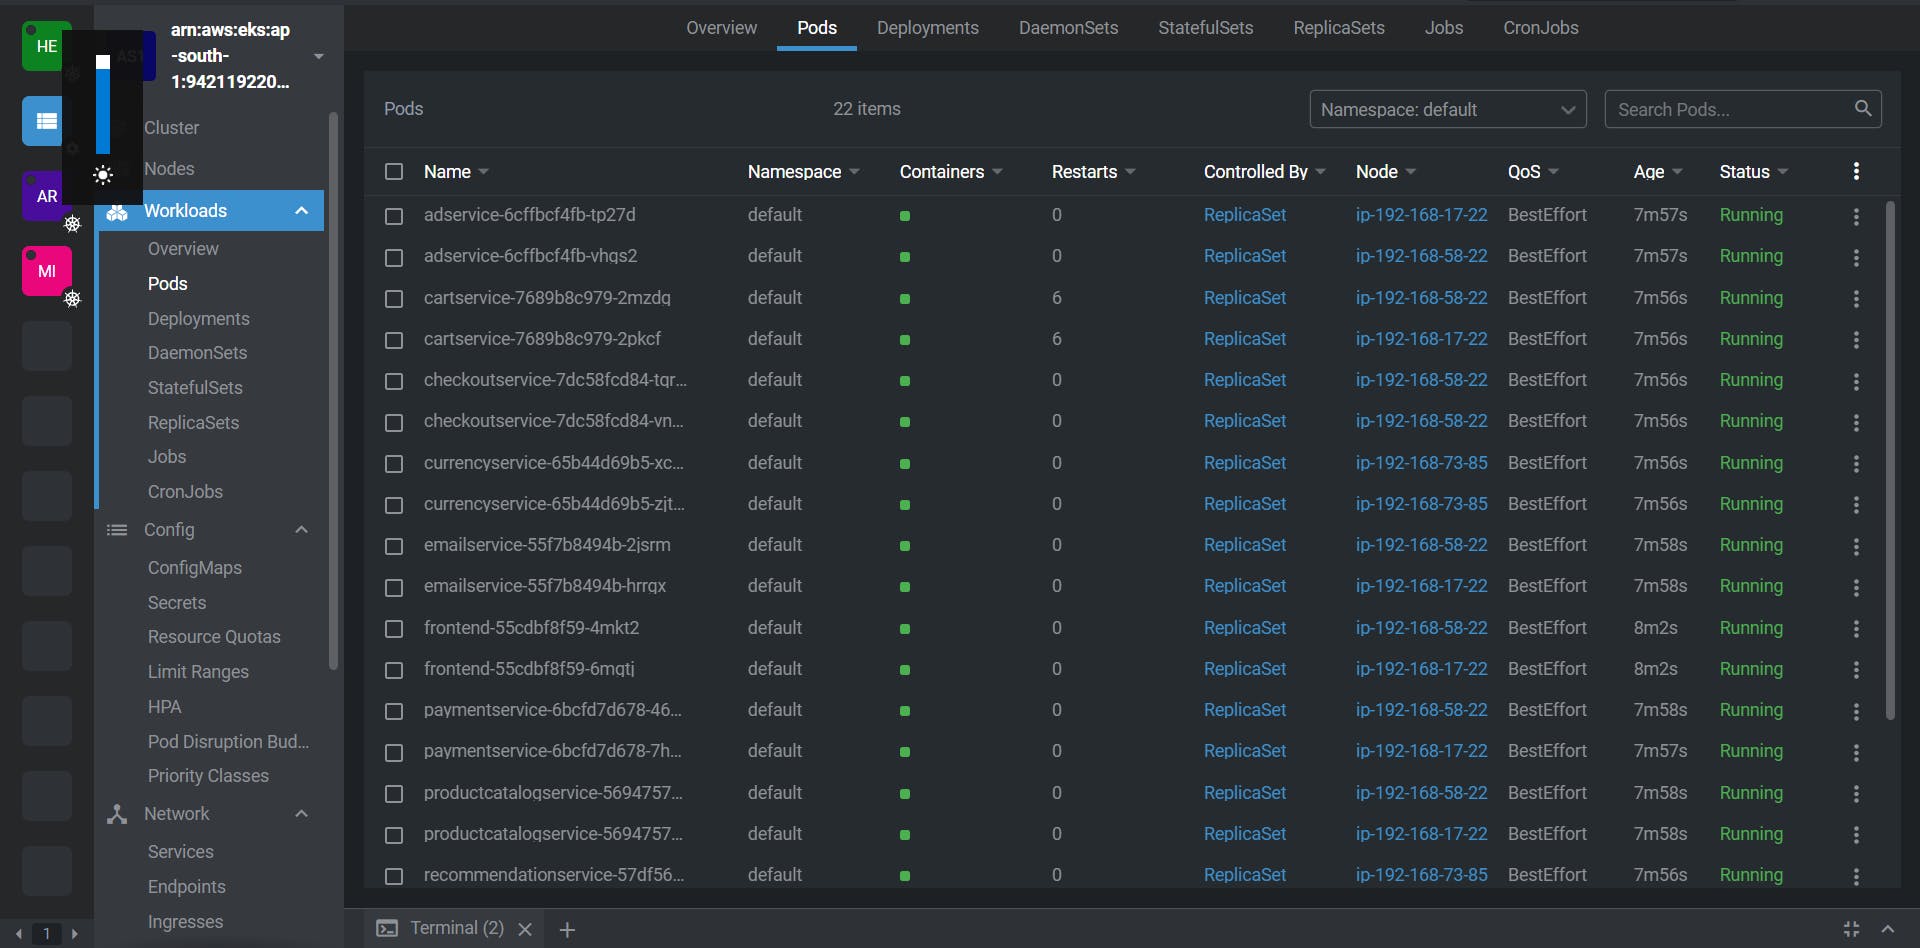
you get the location of the Kube config file and add it to the lens ide to manage the cluster
now use helmfile sync to deploy it to Kubernetes cluster
now you can see all pods up and running
Now u can access the application in the node external IP address.